
A rich, elevated twist on a classic. This hearty recipe brings together deep, savoury flavours and a focus on nutrient density, transforming a humble ragu into a wholesome, satisfying dish that’s as nourishing as it is delicious.
Now that the official intro is over, it’d be valid to let you in on why this recipe exists.
The brief tale begins at a luxury care home (yes, the ones for old folks, except this one is more like a 5* hotel), where I was tasked with helping older folk become healthier.
This statement may seem normal but it is nothing short of revolutionary.
The general landscape of feeding our elderly in a care setting is very much centred around just providing enough calories. Except calories do not make us healthy. They merely keep us alive.
Luckily, this revolutionary new luxury care home group let me work my magic by fully embracing the notion of wellbeing through food.
There was just one “little” issue: Having thoroughly researched this topic (via scientific reviews, not Googling), what I sadly realised is that in order to feed our over 75s the required amount of nutrients, we would pretty much have to ask them to put away 3 trays worth of food per day.
A minor curveball, some might say.
Undeterred, I carried on my research to land on venison and other British game meats. These underappreciated sources of food seemed to boast a better nutrient profile.
By further adjusting the content of meals via other highly nutritious ingredients, I could considerably reduce the size of meals but keep them, amazingly, just as nutritious.
This ragu is one such example.
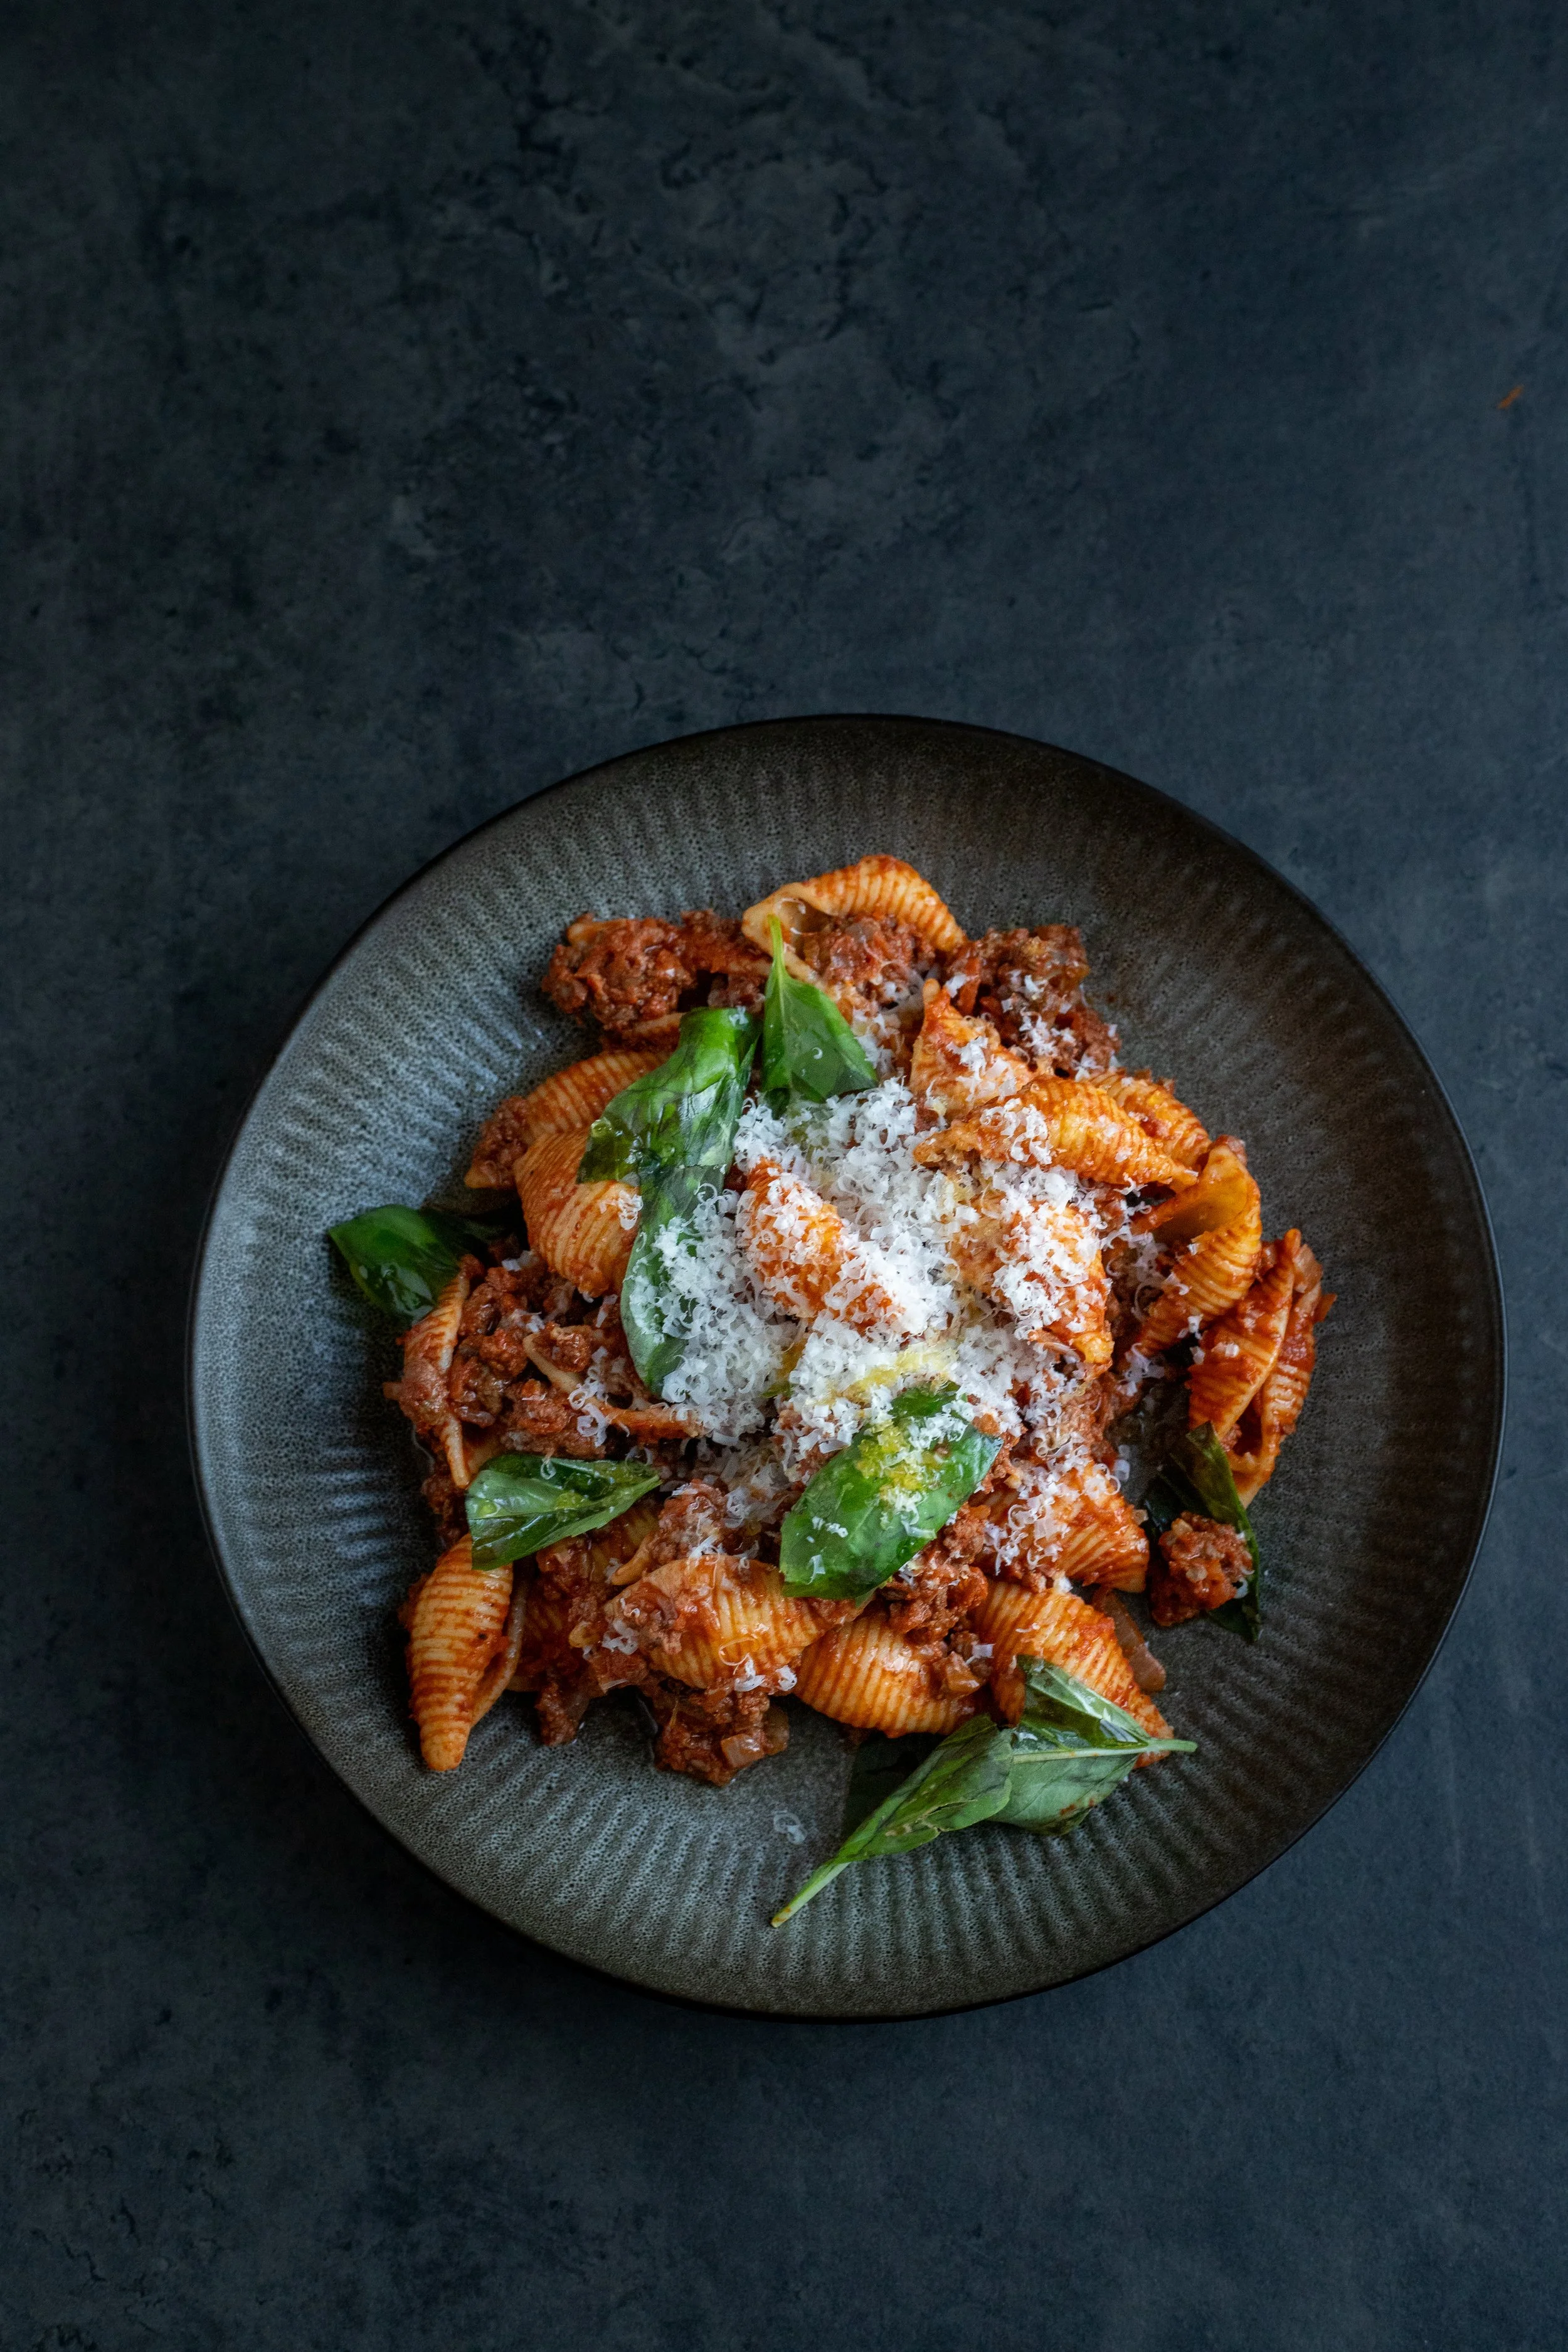
A beautifully tasty dish that scores very high on the chart of essential nutrients.
If you enjoy “spag bol”, then trust me, you will get on with this recipe too.
Ingredients (makes 4 portions)
300g wild venison mince
1 organic chicken liver, 30g - 40g approximately
1 medium carrot
1 medium onion
1 stick of celery
1 clove of garlic
400g passata or chopped tomatoes
1 sprig of fresh rosemary
1 sprig of fresh oregano
2 sprigs of fresh thyme
Good quality extra virgin olive oil (I used Positively Good For You’s EVOO)
Sea salt
Freshly ground black pepper
To serve:
A handful of fresh basil leaves
Parmesan cheese (optional)
350g of pasta, cooked al dente
Method:
1. Peel and dice the onion, celery and garlic.
2. Finely grate the carrot.
3. Pick the rosemary, thyme and oregano leaves from their stems. Roughly chop the herbs to release their flavour.
4. Put the onion and celery in a casserole-style dish or a wide-brimmed frying pan.
5. Drizzle with a generous amount of olive oil, turn the heat to medium and allow the onion and celery to sauté for 5 minutes until they are starting to turn translucent.
6. Turn the heat up to medium-high. Add the carrots, garlic, rosemary, oregano, thyme and venison mince to the pan. Stir and break up the venison mince. Cook for a couple of minutes to lightly brown the venison.
7. Add the passata to the pan. Turn the heat down to medium. Season with sea salt and black pepper and allow it to simmer gently for 10-15 minutes. You may need to turn the temperature down to low.
8. While the ragu is simmering, trim the chicken livers and dice them finely.
9. Add the chicken liver to the pan and cook for a further 5 minutes.
10. Check the seasoning and season again if needed.
11. Stir in the pasta to coat it in the sauce. Add a splash of the pasta’s cooking water to loosen the sauce and stir again.
12. Serve with fresh basil leaves scattered on top and a generous portion of freshly grated Parmesan cheese.


