Britain isn’t eating enough zinc. It’s taking quite a toll on our energy and immune systems.
Let’s fix that.
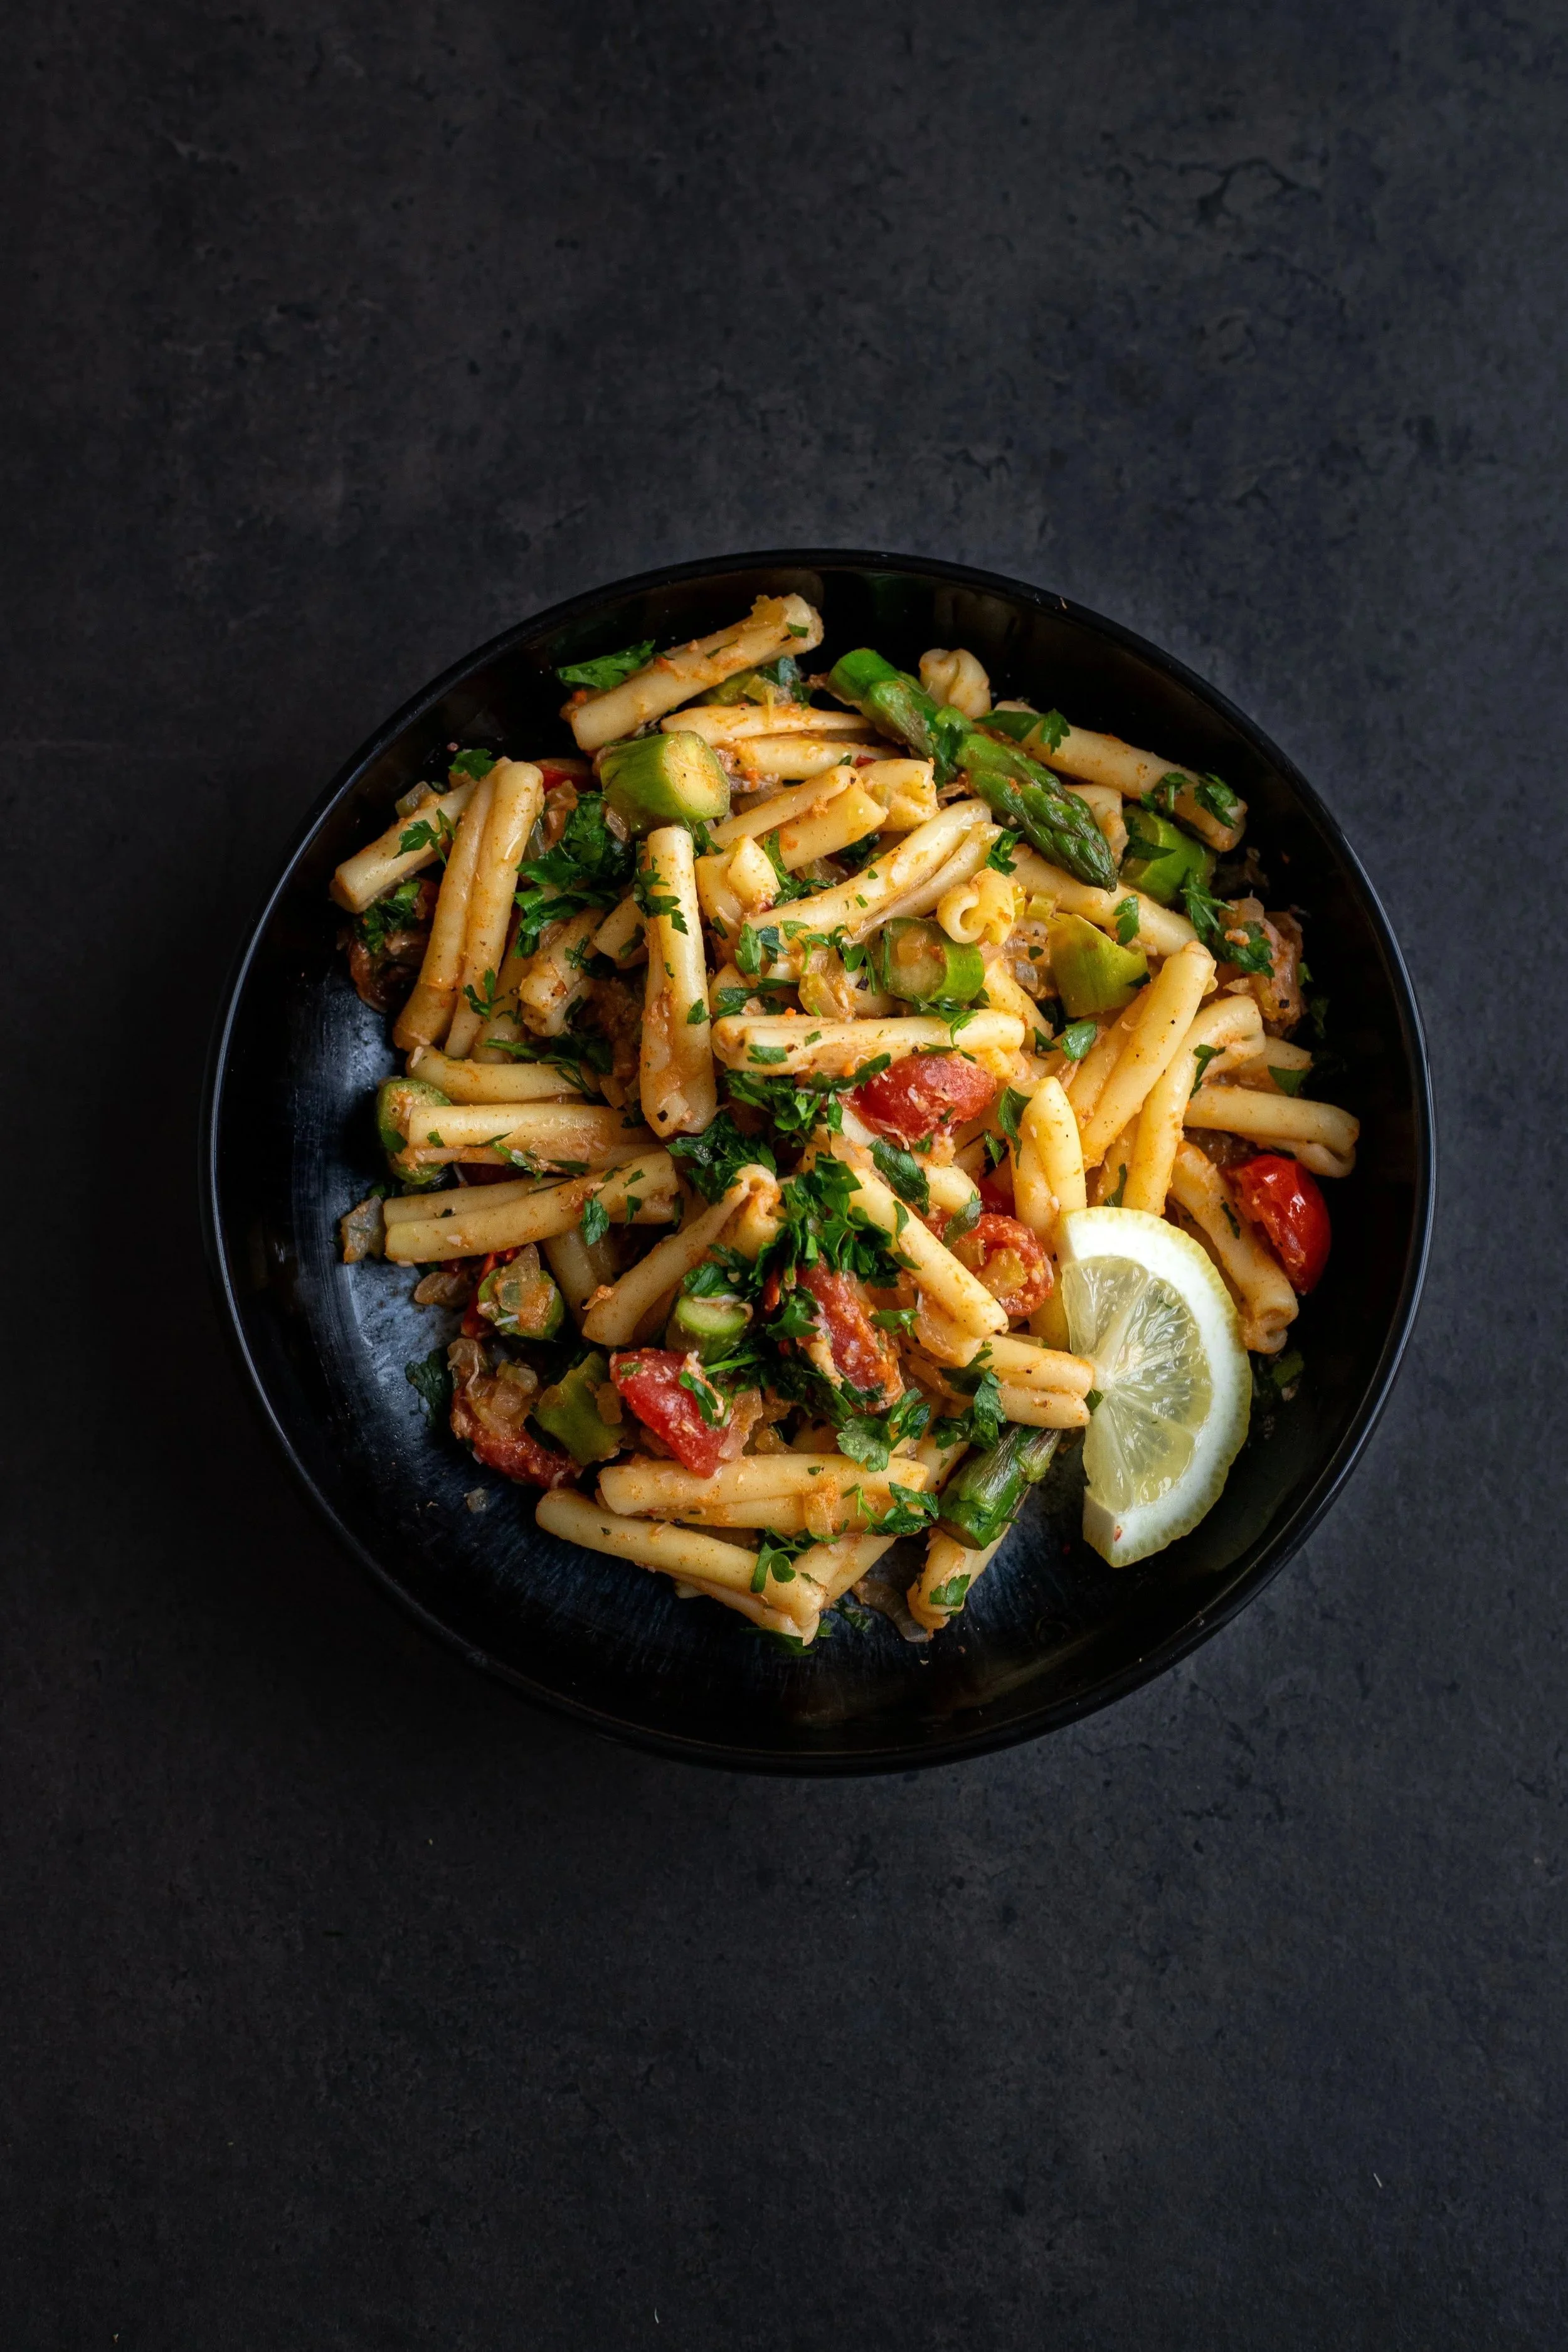
British crab is an excellent source of this essential mineral and it just so happens that it make a really delicious pasta.
The trick is to use the richer, brown crab meat. White claw meat may get all the glory but it’s the brown crab meat that contains most of the zinc.
Top tip: Look for 50/50 pots of crab in supermarkets.
As the title may give it away, these contains half brown crab meat and half white. It’s the ideal balance between nutritious and flavour.
Ingredients
Serves 2
1 pot of 50/50 British crab
160g of pasta
1 onion, peeled & diced
1 stick of celery, diced
10 cherry tomatoes, halved
5-6 spears or asparagus or 40g of frozen peas
A large handful of parsley, roughly chopped
The zest and juice of ⅓ of a lemon
Extra virgin olive oil to drizzle
Sea salt and black pepper to season
Method:
1. Bring a pan of water to boil, add salt, the pasta and cook until al dente.
2. Drain the pasta, reserving 150ml of the salty pasta water.
3. Put a frying pan on a medium heat.
4. Add oil, the onion and celery and cook, stirring occasionally, until the onions and celery have softened
5. Add the asparagus to the pan, either as whole spears or as roughly chopped sections. Pour in the peas if you are using those instead.
6. Cook for a couple of minutes to soften the asparagus or peas.
7. Season well with sea salt and black pepper.
8. Stir in the crab and cherry tomatoes and allow them to heat through for 1 minute.
9. Stir in the pasta and add a generous splash of the pasta water. The latter should help the crab create a sauce. Add more pasta water if it’s looking dry or cook it for a little bit longer to evaporate more of the water if it’s looking a tad watery.
10. Add the grated lemon zest and juice and give the pasta a good stir.
11. Taste it to check the seasoning, adding more salt and pepper if required.
12. Serve by dividing the pasta between two bowls, topping it with a generous sprinkling of parsley and a drizzle of extra virgin olive oil.